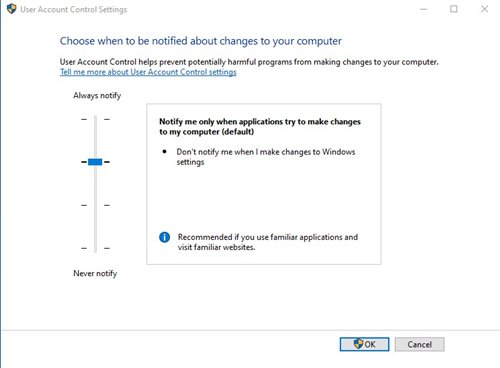
If you have been using Windows 10 for a while, you might come across a phrase called ‘User Account Control’ or UAC. So, what exactly is the UAC in Windows? and what it does?
What is User Account Control Setting?
The User Account Control feature is found in Windows Vista, Windows 7, Windows 8, and Windows 10. If you haven’t yet enabled this feature, you should enable it as soon as possible. The UAC feature of Windows 10 is capable of blocking some actions performed by malware. For example, if any program tries to add malware filled start-up item, UAC will block or notify you. In short and simple words, UAC blocks the critical system changes made without the system administrator’s consent.
Steps to Create Desktop Shortcut for User Account Control
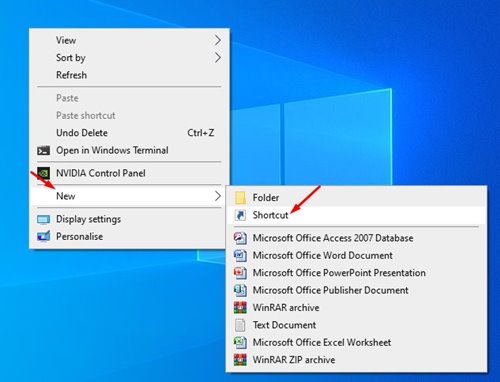
The User Account Control Setting is hidden deep in the Windows 10 settings. Therefore, it’s best to create a desktop shortcut for user account control settings. The desktop shortcut for UAC will provide you quick access to user account control management. Below, we have shared a step-by-step guide on creating a User Account Control Settings shortcut in Windows 10. Step 1. First of all, right-click on a blank space on the desktop and select New > Shortcut.
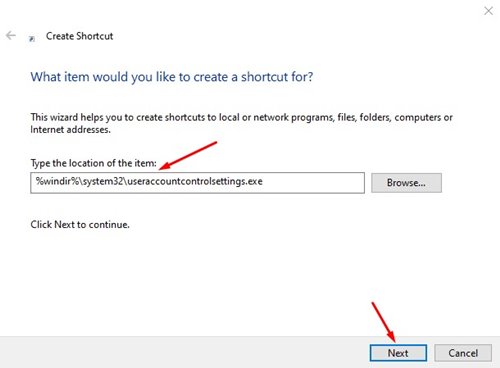
Step 2. On the Create Shortcut wizard, you need to enter the below command in the location field. %windir%\system32\useraccountcontrolsettings.exe
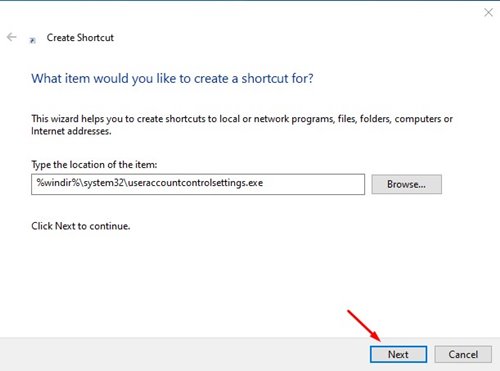
Step 3. Once done, click on the ‘Next‘ button.
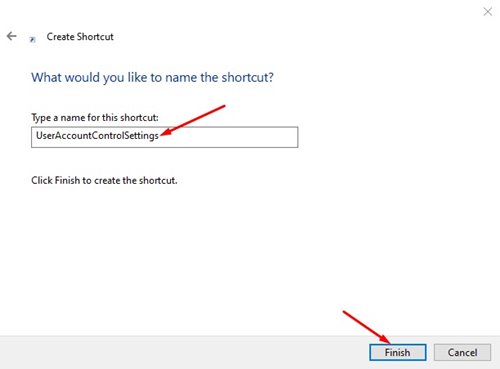
Step 4. On the next page, you would be asked to enter a name for this shortcut. Enter UAC or User Account Control and click on the ‘Finish‘ button.
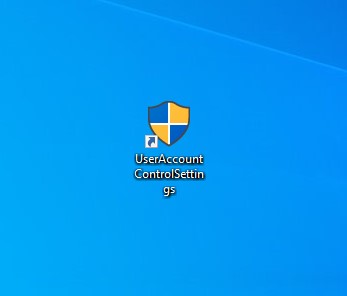
Step 5. Now, whenever you want to manage the user account control, double click on the desktop shortcut.
That’s it! You are done. This is how you can create a shortcut for User Account Control Settings in Windows 10.
So, this guide is all about how to create a shortcut for user account control settings in Windows 10. I hope this article helped you! Please share it with your friends also. If you have any doubts related to this, let us know in the comment box below.
